How to Turn a Native Framer Form into a Multi-Step Form with a Progress Bar
Split a native Framer form into steps with a progress bar, step titles, Back and Next buttons and per-step validation, while every field is still submitted to your form destination.

Dong Trinh
Lead Architect at FramerSend
Lead forms, project briefs, applications and onboarding questionnaires grow quickly: contact details, project type, timeline, budget, a message. On a native Framer form all of it sits on one screen, and a visitor on a phone sees a long scroll of empty fields before they type a single answer.
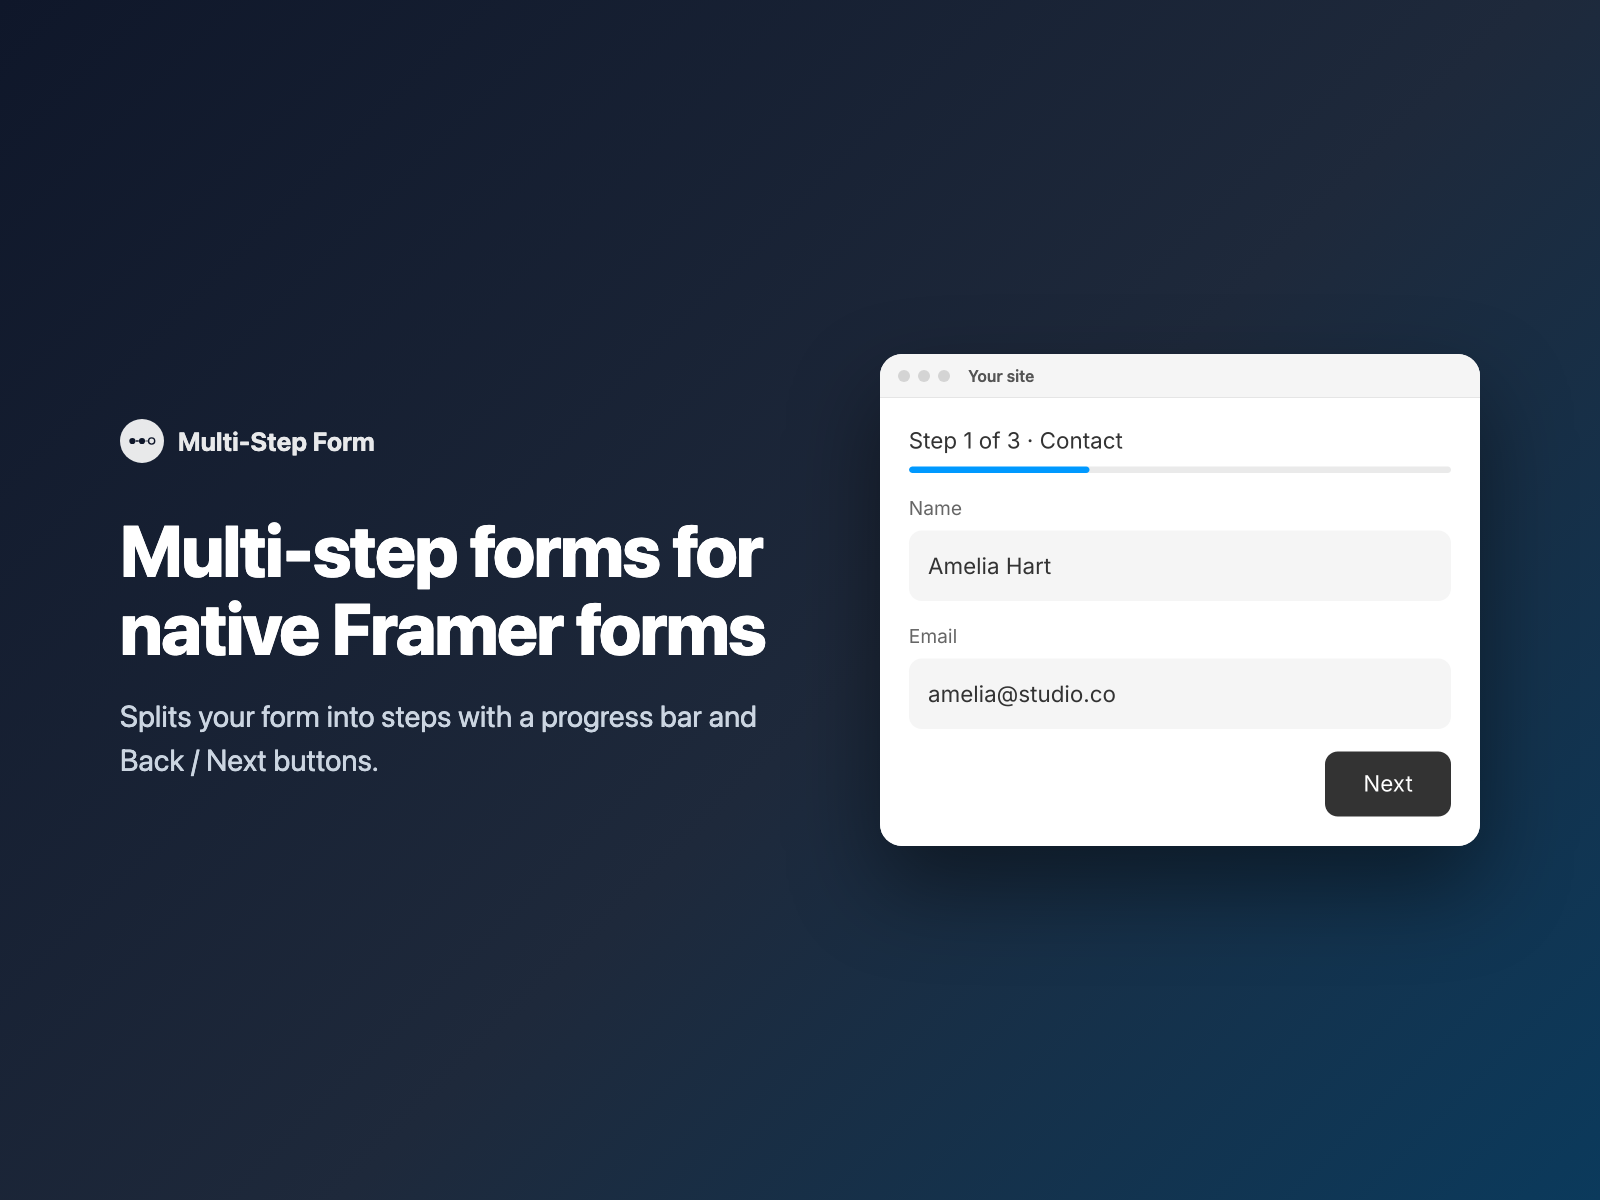
Multi-Step Form turns your native Framer form into steps, with a progress bar, step titles and Back and Next buttons — and the submission still contains every field.
Why long single-page forms feel like hard work
Splitting a form into steps changes three things for the visitor and for your team:
- Less on screen at once. Visitors see one group of questions at a time, with a progress bar and an optional "Step 1 of 3" label that shows how much is left.
- Problems caught step by step. Next checks the fields of the current step before moving on, so a missing email is flagged on step 1 instead of after the last question.
- One clean submission. Hidden steps stay inside the same form, so your inbox, spreadsheet or CRM receives one entry with every answer.
Several Framer pages vs one multi-step native form
| Several Framer pages or variants, one per step | Multi-Step Form inside one native Framer form |
|---|---|
| Answers from earlier pages have to be carried over before the final submit. | Every step lives in the same form; hidden steps stay inside it, so every field is submitted. |
| You build and wire the Back and Next navigation yourself. | Back and Next buttons are added above the submit button, and the submit button only appears on the last step. |
| Progress indicators are designed and kept in sync by hand. | A progress bar, an optional step count label and step titles update as visitors move between steps. |
How Multi-Step Form groups, validates and submits steps
Multi-Step Form is a code component placed as the first layer of your form. On the published site it reads the form's fields and:
- Groups fields into steps — split evenly into 2 to 20 steps, or set Fields per step such as
2, 2, 1(fields beyond the list join the last step). Text or images placed between fields travel with the next field, so a section heading stays with its fields. - Checks each step — Next validates only the visible step and shows the browser's message on the first problem. If a submit reaches an invalid field in a hidden step, the form jumps to that step first.
- Handles the keyboard — pressing Enter in a text field moves to the next step instead of sending the form early, and Enter on Back or Next clicks that button.
- Shows progress — a progress bar (fill, track and height are yours), a "Step 1 of 3" label and comma-separated step titles such as
Contact, Project, Budget. Between steps it can scroll to the top of the form, and it moves focus to the first field of the new step. - Keeps every field — hidden steps are only hidden, never removed, so the native Framer submission contains every value for email, Google Sheets, webhooks or FramerSend.
Fields hidden by Conditional Fields are skipped by step validation, and the component loads no external scripts and makes no network requests. On the canvas it shows a preview of the progress bar and leaves your layers unchanged.
Make a Framer form multi-step in three steps
- Select your native Form on the Framer canvas, open Multi-Step Form (or pick it inside FramerSend Fields), and sign in with your FramerSend account.
- Click Make multi-step. The component is added as the first layer of the form.
- In the right panel, set the number of steps or the fields per step, the step titles and the Back and Next labels, style the font, colors, radius and padding, and publish. The steps run on the published site and preview.
Combine Multi-Step Form with Conditional Fields, Form Summary and Autosave
- Tailored second steps: use Conditional Fields to show a follow-up field on step 2 only for a certain step 1 answer. Hidden fields are skipped by validation, so a required field never blocks Next while it is hidden.
- Review before sending: put Form Summary on the last step for a live "Review your answers" list; each answer's Edit link jumps back to the step with that field.
- Long applications: add Form Autosave so answers come back after a reload, Answer Piping for personalized step headings, and Form Analytics for
form_step_viewandform_step_completeevents in GA4 or Google Tag Manager.
Send the finished submission to HubSpot, Airtable, Notion or your email notification.
What we tested
We tested Multi-Step Form on a published Framer site with real native forms: pressing Enter in a step 1 field moved to step 2 and Enter on Back returned to step 1 without sending the form; with Conditional Fields watching an answer, a field on step 2 was hidden and disabled or shown and enabled as the answer changed; and forms with fields on step 2 were submitted through FramerSend with the stored payload checked, including a Signature test delivered to Klaviyo.
Install Multi-Step Form from the Framer Marketplace or use it inside FramerSend Fields along with all 78 Framer form fields and 110+ connectors — 14-day free trial with no card, then from $5/month.
Frequently asked questions
How do I make a multi-step form in Framer?
Select your native Framer form, open Multi-Step Form and click Make multi-step. The component is added as the first layer of the form. Set the number of steps (or how many fields go in each step) and the step titles in the right panel, then publish.
Do I lose the answers from earlier steps?
No. Hidden steps stay inside the form, so the submission contains every field, exactly as before. It works with every form destination: email, Google Sheets, webhooks, or FramerSend.
Does Next check the fields before moving on?
Yes. Next checks the fields of the current step with the browser's own messages before moving on, and the submit button only appears on the last step. Pressing Enter in a text field moves to the next step instead of sending the form early.
Can I put a different number of fields in each step?
Yes. Use Steps to split the fields evenly (2 to 20 steps), or type Fields per step, for example 2, 2, 1. Fields beyond that list join the last step.
Why don't I see the steps on the Framer canvas?
The steps run on the published site and preview. On the canvas the component shows a preview of the progress bar and does not change your layers.
Where do I install Multi-Step Form for Framer?
Install Multi-Step Form from the Framer Marketplace, or open FramerSend Fields (78 fields in one plugin) and select it. Every FramerSend plan includes it from $5/month after a 14-day free trial with no card.
Connect Framer to 100+ CRMs in 60 seconds
14-day free trial, no card needed. Copy your Submit URL and paste straight into Framer.
Related Articles
How to Fill a Framer Form Dropdown from a CMS Collection
Build a dropdown, radio list, buttons or checkboxes in a native Framer form from CMS items such as services or locations, and refresh the options when the CMS changes.
How to Validate an IBAN or VAT Number in a Native Framer Form
Check IBAN check digits and EU VAT numbers as visitors type in a native Framer form, block the submit while the value is wrong and send a clean value.
How to Add a QR Code and Barcode Scanner to a Native Framer Form
Let visitors scan a QR code or barcode into a native Framer form field, or scan from a photo, and send the decoded text with the form.